Tuesday, April 2, 2013

Edit GoodWill Shirts!


What you will need:
1. Blouse with a nice collar.
2. Faux pearls in 2-3 sizes. We used a craft strand to save a little time. Rhinestone buttons, beads, earrings… whatever you like really, that you can hand-stitch on.
3. Needle/Thread/Scissors
fashiondivadesign.com
DIY: Create your collar to look beautiful

Silverware!


FRIDAY, APRIL 22, 2011

New Uses for Old Silverware

12/4/11 Update:  Are you a wonderful reader stumbling over here from Pinterest?  And are you areinterested in a DIY for these beautiful rings?!  If so, then click here for the full tutorial.  Thanks for reading!

12/10/12 Update: To see video snippets of the tutorial, click here
----------

The beginning stages of a relationship are always exciting.  The nervous butterflies, the showering with affection, the "sure I can hang out tonight (even though I have a 10 page paper that's due at 8am tomorrow that I have no idea when I'll finish)"...these all make those first few months such a treasure.  However, my favorite thing about beginnings of relationships?  The dumb, quirky little gifts you give in a hopeless attempt to impress the other.

Rewind three and a half years to when Noel and I first started dating.  Well one day as he was walking to my apartment, he found this fabulous little spoon ring.  So, naturally, when he got to my apartment he gave it to.....my roommate.  Okay, okay, so the spoon ring was TOTALLY her style, and I do suppose impressing the friends is a crucial part of the relationship as well...but still. :)

Recently, the spoon ring story came to mind, and after giggling to myself for a moment, I started wondering what other wonderful things you could use old silverware for.  I did a little google searching, and here are some of my favorite things that I came up with:

I think these napkin rings made from the ends of spoons/forks are just beautiful!

 Here's a twist on the spoon ring - a fork necklace! (Maybe I'll get one of these instead...)
  
 I just LOVE this...I think it is such a fun and creative way to display name cards!

 This is amazing.  Luis Luna used plastic utensils to create this fabulous "Gluttony" light fixture.

 What better way to mark your garden?

I don't really know how comfortable this chair would be...but at least it looks sweet! 

 A unique approach to candle holders.

 Fun and easy DIY cabinet hardware!

 I love the simplicity of these...although if you aren't careful when you close the curtains...this could be deadly.

 Beverly at Flamingo Toes made this adorable mirror using old silverware (you can't see the reflection of the mirror due to the angle of the picture).

Here Halsey from Spunky Junky turned her old silverware into art by  simply spray painting the silverware white and framed them for a unique look

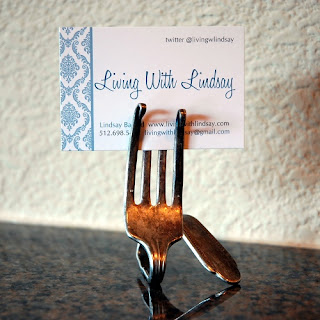
 This is a spin off the name card holder - this would be the perfect stand for your business cards!

Image credit: {1} {2} {3} {4} {5} {6} {7} {8} {9} {10} {11} {12} {13}


So, from now on don't throw away those old utensils - get creative and give them a new life!

Friday, March 29, 2013

Shorts, I Just Finished


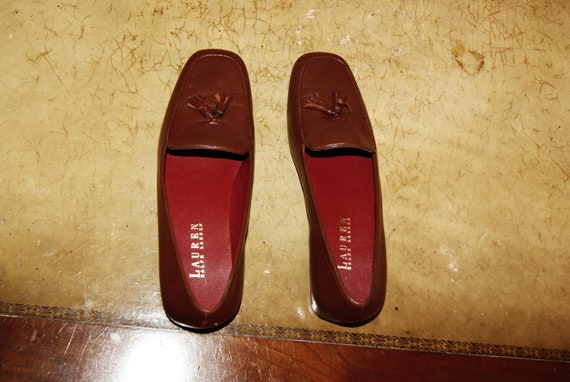
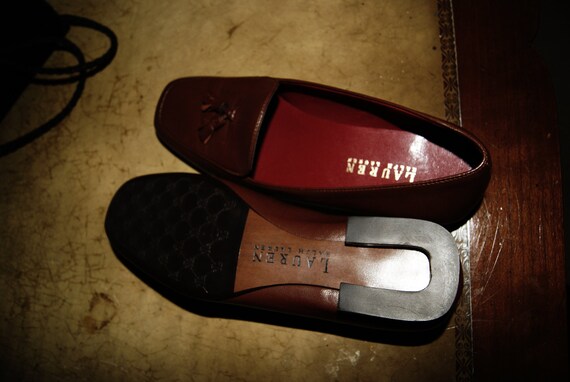
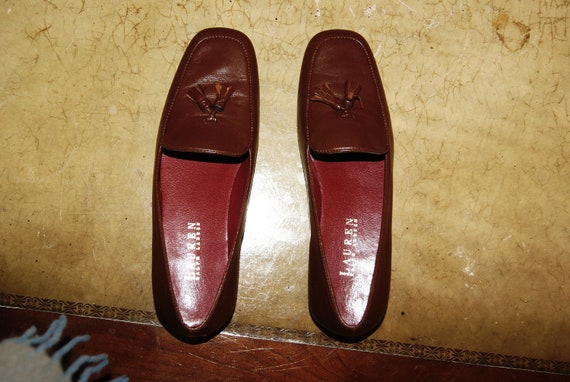
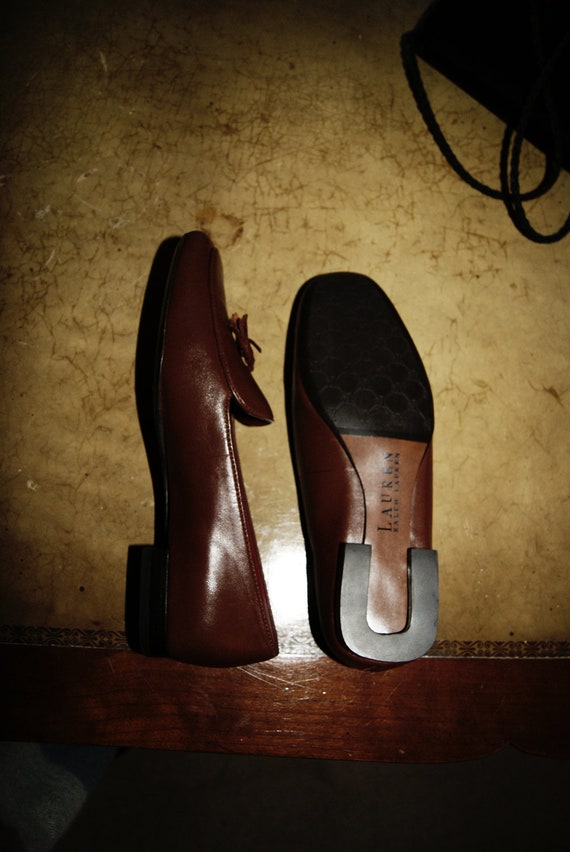
Vintage Ralph Lauren Loafers FOR SALE


DIY: TRIBAL PRINT SHORTS


DIY: TRIBAL PRINT SHORTS


Tribal print is one of the hottest trends this side of summer (herehere and here) and Made in Pretoria would not be awesome if I did not include a DIY on it.
DIY: Trendy Tribal Print
  • Supplies: An old denim, a pair of scissors, bleach, permanent marker
  • Cut the denim’s legs off. Make sure you fit and mark where to cut before the damage is done.
  • For a distress feel, make small cuts. Put the shorts through a washing machine to get full fray effect.
  • lay the shorts’ ends in 1:1 water:bleach mix
  • Wait until you get your desired colour. This can take a while, so please be patient
  • With a permanent marker, draw the print on the shorts.
  • http://madeinpretoria.wordpress.com/2012/01/08/diy-tribal-print-shorts/

DIY: Update Your Cutoffs


DIY: Update Your Cutoffs

Post image for DIY: Update Your Cutoffs
There’s no denying it, cutoffs are a wardrobe staple this time of year.  And with all the variations of color, fabric, textures, prints and more, there’s certainly no shortage to our selection.  But if you’re like me  and you’ve got a few pairs of old cutoffs from previous summers that could use a little makeover — or if you just want to give your cutoffs a little something special to make them stand out – today’s DIY is for you.  I spotted the image above on tumblr and got inspired to update a pair of cutoffs by adding some fun printed fabric!
What you need: a pair of cutoffs (I used these), fabric of your choice, scissors, a needle and thread
Start by cutting a piece of fabric that is large enough to cover one side of the shorts. Attach it with a few safety pins to keep it from moving around.
Start sewing the fabric to your shorts – I used the natural seams of the shorts as a guideline.
As you sew, you can trim off the excess fabric  as close to the stitches as possible.
And there you go! A “brand new” pair of cutoff shorts to wear all summer long :)

DIY Printed Victorian Shorts


DIY Printed Victorian Shorts

Supplies: fabric (1 yard)
pair of shorts
The warm weather is almost here and it inspires me to start sewing summer pieces. Shorts are such a small piece of clothing that you can add color and prints too. I've always loved the victorian, shabby chic type fabrics and what a cute pair of shorts they made. I'm not fond of making pants/shorts...they never fit well. This time I drafted a pattern from a nice fit pair of shorts and it worked out perfectly.

Draft a pattern from shorts and copy where to sew. Find a pair of shorts that are simple to recreate. These had the zipper on the side seam which was perfect.

I love these shorts! Tailored and whimsical!


cute